

Action menus are one of the more useful features in EPBCS. They let you attach extra actions to a form so users can launch a business rule, jump to another form, or open a URL right from where they are working. In this tutorial, we will add an action menu to a form that runs a business rule to add a new row.
STEP 1
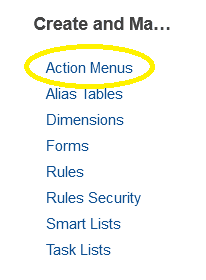
- Open the Navigator.
- Under Create and Manage, select Action Menus.
STEP 2
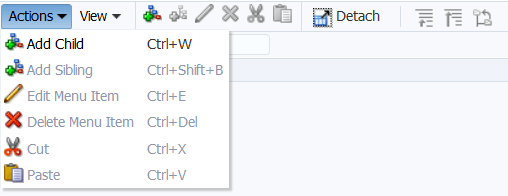
- Click the green plus to create a new menu, then give it a name.
- Once it is created, the menu appears in the list below.
- To edit it, highlight the menu and click the pencil in the top toolbar.
STEP 3
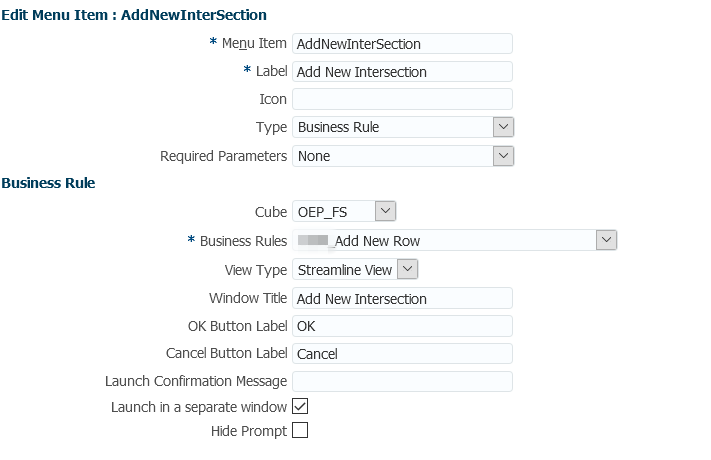
- Add a menu item and give it a label. This label is the text users will see in the action menu on the form. Here we're calling it "Add New Intersection."
- A business rule named "Add New Row" has already been created for this.
- Set the menu item's Type to Business Rule, then select its cube and the "Add New Row" rule.
- Click Save in the bottom right corner.
- With the menu item in place, the action menu is ready to add to a form.
STEP 4
- Go back to the Navigator and, under Create and Manage, select Forms.
- Open the form you want to attach the menu to.
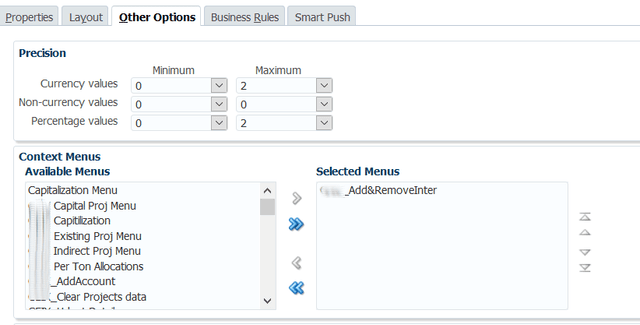
- In the form builder, click the Other Options tab.
- Move your new menu from Available Menus to Selected Menus, then click Save.
STEP 5
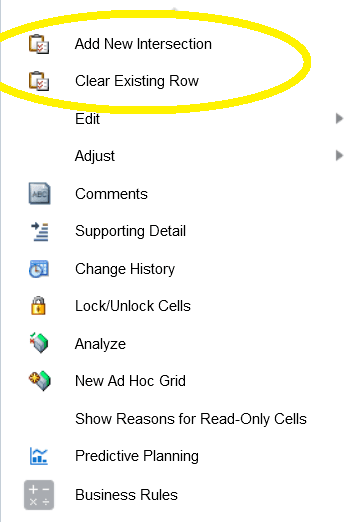
- Open the form from your navigation flow to test the menu.
- Use the Actions menu, or right click on the form, and select "Add New Intersection."
Adding a new row is just one example. Action menus can also open other forms, launch rules with runtime prompts, jump to Approvals, and more.
To learn more about EPBCS and action menus, contact us today.